Tue Jun 27 22:47:31 2023
 I've been etching more boards in the past 12 months than any time prior that I can remember. The projects however have been far enough apart that I've completely forgotten ratios and times for etching the boards. Rather than forgetting again, this seems like a good place to document some notes.
All notes pertain to using MG Chemicals positive, pre-sensitized copper clad, which you can find on Mouser and Amazon. These boards have fallen into obsolesence on Digikey, except for one.
I've been etching more boards in the past 12 months than any time prior that I can remember. The projects however have been far enough apart that I've completely forgotten ratios and times for etching the boards. Rather than forgetting again, this seems like a good place to document some notes.
All notes pertain to using MG Chemicals positive, pre-sensitized copper clad, which you can find on Mouser and Amazon. These boards have fallen into obsolesence on Digikey, except for one.
- KiCad & Transparencies
- Exposing, Developing, and Etching
KiCad & Transparencies
I was an Eagle user forever until I started asking some EEs at work what they preferred. KiCad was the clear winner amoung them. The only feature I miss from Eagle was the ability to make rounded corners on the traces. Overall, I find KiCad more intuitive to use and with a much broader community of users. Trace Width Unless there is a hard requiurement to have your prototype use very narrow trace widths, traces less than .4mm may not etch well. Even with two layers of transparencies at .4mm I still get broken traces. Using a Micron pen, your may be able to go over finer traces. With traces at .4mm, a fine Sharpie gets the job done.
Transparencies
Two is better than one. Even with two, I still go over fill areas / copper pours with a Sharpie and most traces. Your mileage may vary, but with the HP LaserJet m203dw, the print on transparencies comes out in a chequered pattern, some UV always bleeds through even with max DPI of 600.
Exposing, Developing, & Etching
LEDs, Enclosure, & Exposure UV LEDs work great. My initial UV box used a sheet of styrene for the surface the PCBs rested on. While UV passed through the styrene, styrene isn't entirely clear to the eye. It worked fine for the most part until I noticed some streaks in the resist, which matched the patterns in the styrene. Changing over to glass and keeping it clean improved the exposure. I've used a plastic Husky tool box; it gets the job done. As much as I want to fab a box with a timer, etched PCB for the LEDs, with the perfect dimensions for a 9x6 PCB, I dont do this enough to spend the time or money at the moment. With the above UV LEDs, one minute exposure works really well. Too much time on the exposure will weaken the resist and it will immediately dissolve in the developer; not enough time and it will take forever to get the resist off.
Developing I burned through a lot of boards getting the ratios right for this step. Too strong of a developer and the resist comes off too quickly, too weak and it will either take forever and you risk over exposing the boards to the lye, eventually ruining the resist. Through the trials, I found that 5 grams of sodium hydroxide to 2 cups of room temperature water works well enough to watch the board develop where I want it. If you don't want to mix your own solution, you could always purchase the premixed MG Chemicals developer.
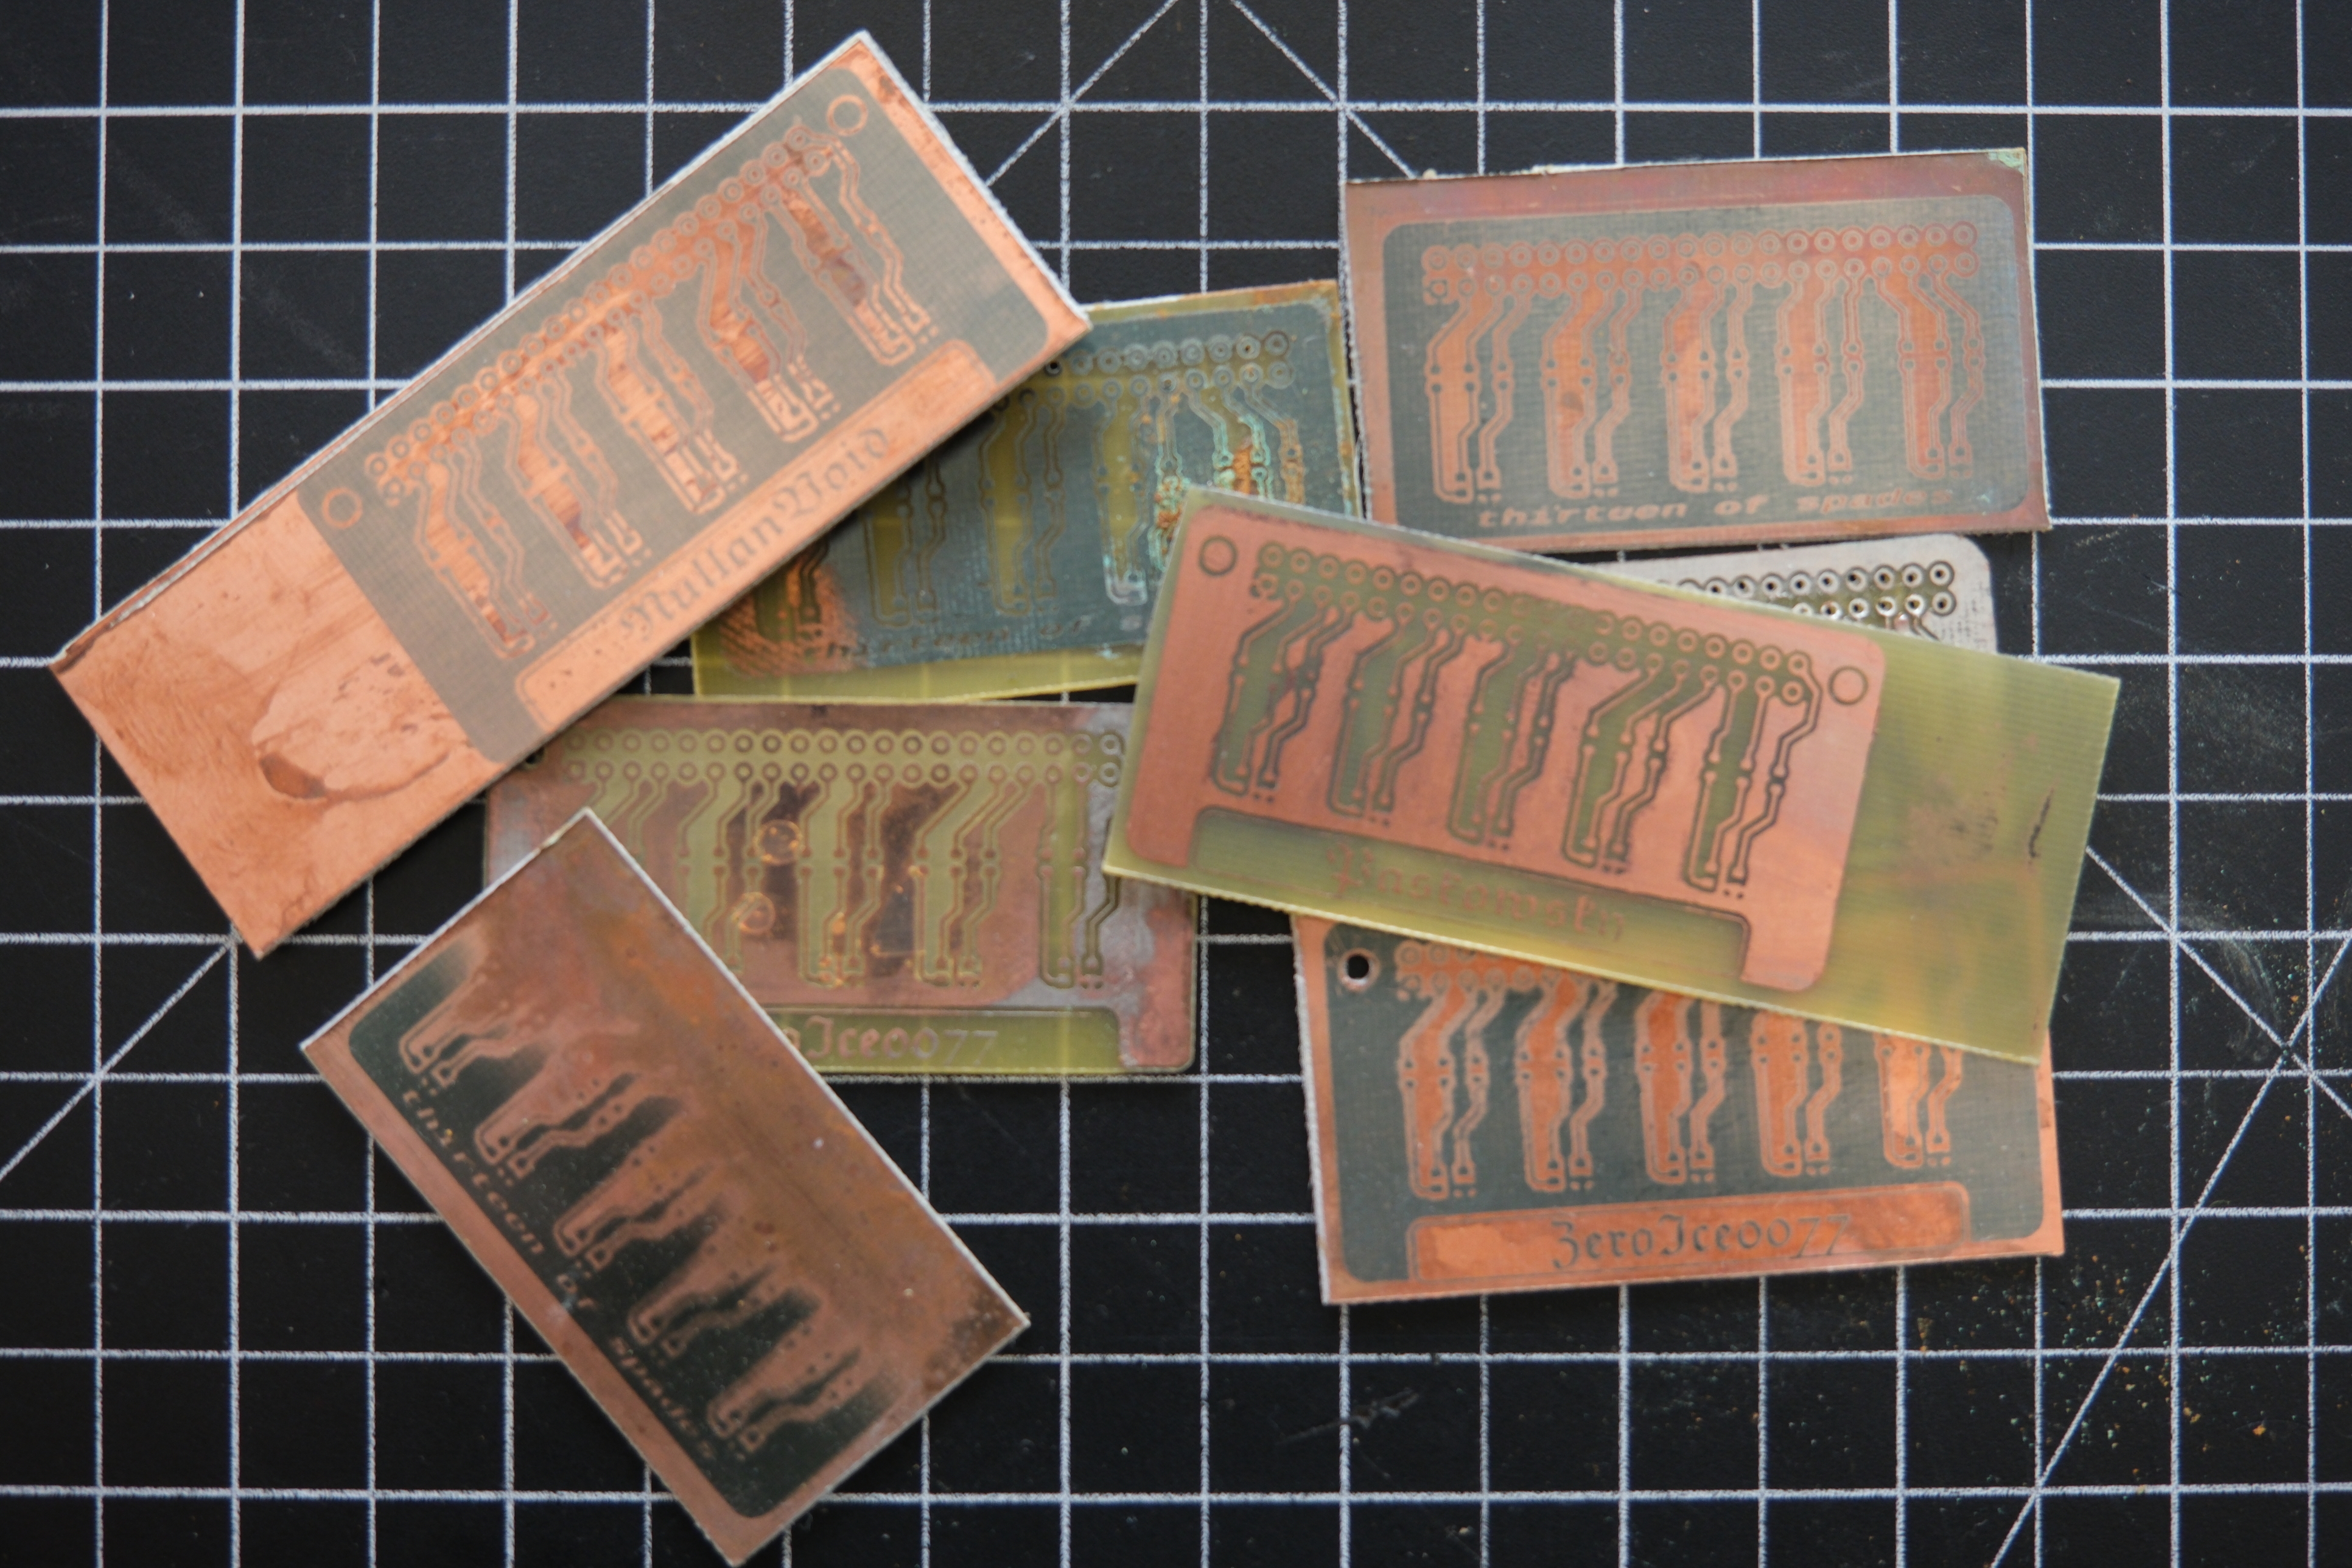
Etching There are two options to etch the boards, use ferric chloride or go with the muriatic acid + hydrogen peroxide solution. I had just enough ferric chrloride remaining to continue using it for the project I was on, but next time I'll be trying the HCl + H2O2 solution. Ferric chrloride is messy to work with, it stains everything. Timing with ferric chloride depends on the board size and how new the solution is. Way back, we etched these in pyrex on top of an electric hot plate to speed up the etching. The above pictured boards, while ruined, took around 30 minutes.
@nullanvoid